“Hey Laura, Thanks for the proposal, it all looks great! Let’s go with Option 2. When can we get started?”
There’s nothing like getting a project accepted.
No matter how many times it happens and no matter how confident I am that the client is going to say yes, I always get a jolt of excitement (and do a little dance) when it becomes official.
It can be tempting to relax a little after the tedious back and forth of selling (cough, try Roadmapping).
But how you start the project is going to set the tone for how the rest goes.
If you start by coming across as organised and professional (even if you don’t feel it), that’s how your client will see you throughout the whole project.
That’s why I’ve put a lot of effort into refining an onboarding process that:
- Makes me look good
- Makes the project more efficient
- Makes my clients happy that they’re working with a professional who knows what she’s doing.
In this article, I’m going to show you a repeatable process you can use to onboard every new client.
Whether you take my process in its entirety, or simply use it as inspiration to make your own, you’ll have everything you need to start each project on the right foot.
My current onboarding process
So here’s what my onboarding currently looks like:
- Proposal gets accepted.
Once the proposal has been accepted, it’s time for the onboarding to start. - Contract gets updated.
I customise the contract to match my new clients project details. - Upload to HelloSign.
Upload the finished contract to HelloSign which enables clients to sign it digitally. - Send deposit.
Go to Harvest and send a 50% deposit invoice to client. - Set up moodboard
Use Dropmark and add a few inspirational images. - Prepare worksheets
Prepare any worksheets or ‘homework’ to give to clients prior to starting. - Add a folder for client in Dropbox
Use PostHast to select from a project template and invite client to the shared folder in Dropbox. - Set up client portal
Put all the corresponding links into a dashboard on my website and give client log in access.
Now that might sound like a lot. But chances are, your onboarding looks somewhat similar.
But let me ask you a question: have you ever taken the time out to go through your onboarding and lay out every step you need to take when bringing on a new client?
If not, you’re missing out a golden opportunity to not only streamline your process but also giving your clients the first impression of “Wow, this person really knows what s/he’s doing!”.
So let’s dive into some detail about the above onboarding process and how you can make it work for you.
The ‘boring bits’
Contracts, invoices, proposals, paperwork… bleugh. You can’t get away from them, it’s something all business owners need to deal with.
For many years, I didn’t bother with contracts. I knew I should. And when I had my first non-payer the first thing everyone said was “Well, did you have a contract?”.
No.
But the truth is, even if I had a contract, would it really be worth going through the courts for the sake of $100. It’d cost me more in legal fees than I’d ever get back.
Now, thankfully, I’m working on projects a little higher than $100 and a contract is necessary to protect me and my client if something goes wrong.
But a contract isn’t just there to protect you.
Having a well-defined contract makes you look like a legitimate business. It sets the tone that you’re a professional who has done this before, rather than someone just freelancing from their bedroom with Netflix in the background.
So if you haven’t already, and even if you’re working on small projects, I recommend getting a clear contract put together that you understand (like the one included in Double Your Freelancing Rate and baking it into your onboarding.
I spent a whole day going through mine, making sure I understood what each point was referring to. Granted, I had a headache by the end of it (and a disdain for ‘lawyer speak’) but now if any client needs to know where something is referenced, I can point them to the section and explain the terms in ‘normal’ language.
That makes me look good.
It makes me look like a professional, which is important for a late 20-something with a baby face and a squeaky voice :-).
Once my contract is updated (which takes about 10 minutes now I know exactly what I need to change and where), I then upload it to HelloSign so the client can easily read and sign online.
Why use software as opposed to creating custom documents?
You’ll hear me mention a lot of software in this article. I’m not an affiliate of any of them, I just really like good software that makes my life easier.
For these services, you can usually create your own custom documents like invoices, proposals, and contracts.
These have the benefit of being unique to you, branded to your company and with no annoying monthly fee.
But there are a few reasons I prefer to use SaaS products for my business documentation:
It’s easier to set up.
When I used to create proposals in InDesign, I’d spend hours designing each page, typesetting, dealing with annoyances like text overflowing onto a new page and breaking the design.
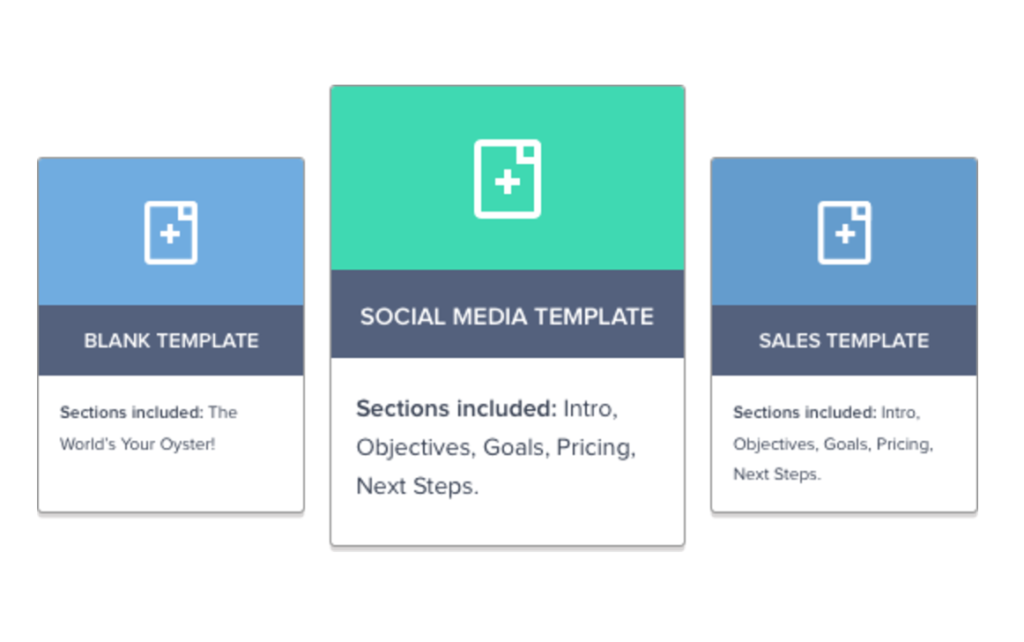
Now I use Nusii which allows me to define templated blocks of text and automatically replace changeable information like the client’s name, their email address and so on.
It’s easier to collect and analyse data.
If I use Harvest for my invoices, I can generate reports. If I use Typeform for my worksheets, it means I can see every answer to each question in a spreadsheet.

These benefits alone make the monthly payments and slight inconsistencies in branding worth it.
So now we’ve got the boring bits sorted (like contracts and invoices), you might think your onboarding is finished. And for most other freelancers, that is exactly where it ends.
But let’s set ourselves apart and put a bit more thought into our process. How can we go above and beyond (while still being useful).
Give your clients some homework
It’s every freelancer’s dream to be booked up months in advance. But the reality can be tricky.
“I don’t want to pay a 50% deposit now if we’re not going to start for another 4 months!”
“I really need to get this project started now. This is my livelihood. I’m finally motivated and I don’t want to wait.”
It’s understandable.
When a client gets in touch with you, it’s usually when they’re most excited about their project and ready to get to work.
So if you can put together some tasks which they have to get finished before you start your part in the project, it won’t feel like they’re just waiting to get started.
Instead, it’ll feel like they’re working on something that is going to help their business and it’ll help make the project the best it can be.
And being able to say, “I have a waitlist of 4 months but we can get started with the preliminary work right away” really helps getting those clients booked in (and deposits paid) in advance.
So when I’m in my preliminary talks with clients, I’ll mention my availability early on. I’ll say something like this:
As mentioned, I’m booked through May but we can start working together now and I can get familiar with your business, you can do some of the data collection homework that I’ll likely be assigning, etc. so that when I’m available we can get going immediately and I’ll have everything I need.
Sound good? If so, I can put together a proper proposal and once that’s approved, we’ll get you setup in my project management software and start the research phase, along with the deliverable timelines.
Thanks,
-Laura
(And FYI, this was the response I got: “Yes, that does indeed sound good. You being available in May actually gives us the lead time we need to get the other aspects of our business set up.” – Bingo!)
What kind of homework should I give my clients?
So what should you give your clients when they start?
This really depends on the services you offer. I’m a designer so I can share what I do from my perspective, but I’ll also give you some ideas for copywriters, developers, consultants and so on.
Ultimately, you don’t want to be giving homework just for the sake of it. Make sure it’s useful either for you, your client or for the project.
Here’s what I give my clients before a web design project:
Content Worksheet
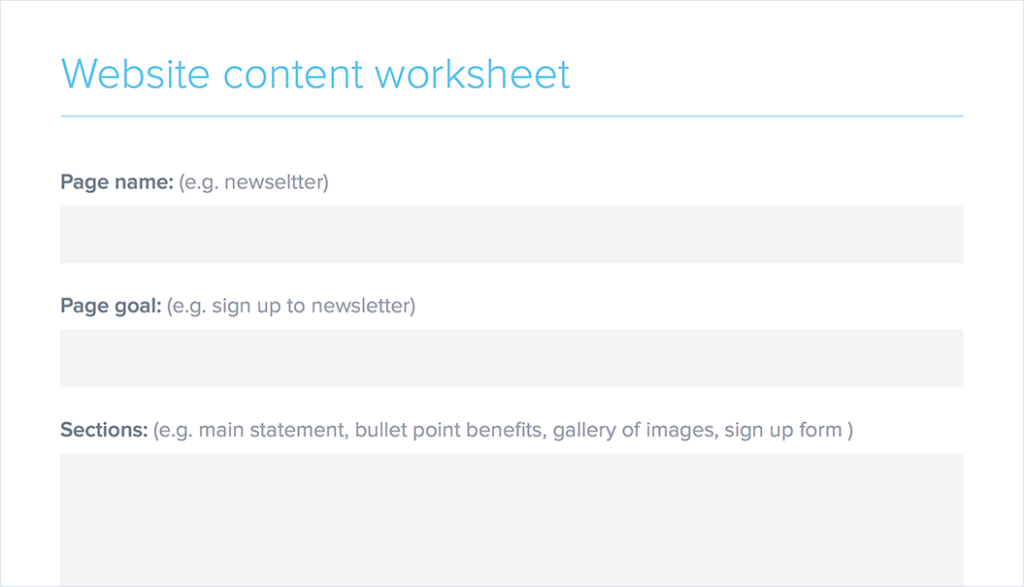
I give my clients a simple worksheet to help them write their content for the website.
To be honest, nobody uses the worksheet. They stick with GoogleDocs which is absolutely fine—but having a worksheet there to give them helps it seem more like a legitimate task rather than something that’s optional.
Gut Test Worksheet

I put together a ‘gut test’ for each project (Credit to Brad Frost for the idea). This is where I’ll add links to different styles of websites and ask them to rate them on a scale of 1-5. This helps me get an idea of the visual style they like (as the results are often different to what they think they want).
Inspiration Board
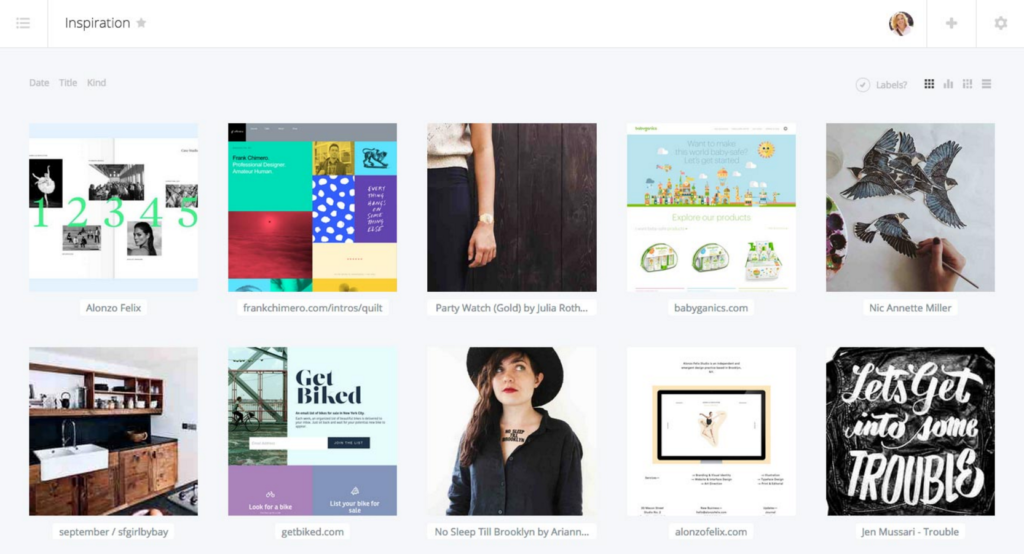
I set clients up with an inspiration board on Dropmark and ask them to save any visuals they like to it. Preferably with a short blurb about what they like about it.
The Brief
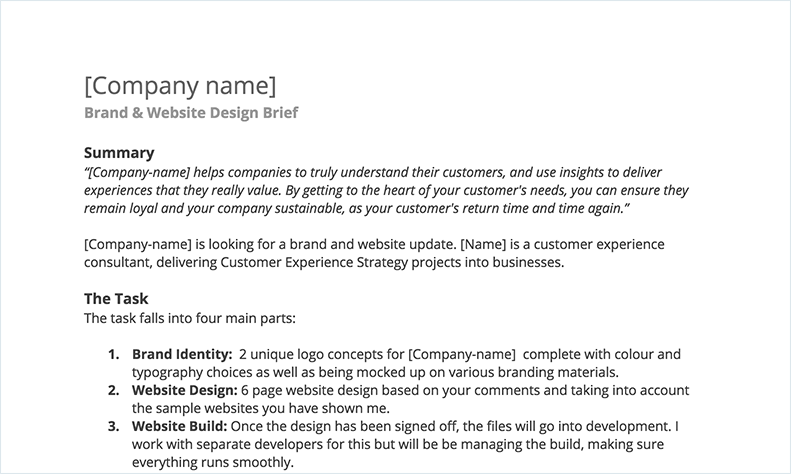
I’ll write up a short brief for the project in GoogleDocs. It’s basically a shortened version of the proposal. This is my chance to make sure I’ve understood the project correctly. So I ask them to go in and make any edits or comments so we start with no wrong assumptions.
That’s what I give my web design clients. Your homework might look very different.
For example, if you’re a developer or a marketer, you might put together a private worksheet to collect clients’ login information for their website. Or maybe a how-to guide on how to add you to their analytics.
If you’re a consultant you could put together a deep-dive intake questionnaire about their business and the results they want. Most clients don’t have their company data on tap (like life time value of a customer, or percentages of conversions). The gap before you start is a perfect opportunity for clients to get the data you need for a results-based project.
Whatever kinds of projects you take on, there’s usually something that needs to be done before you start. If you can make templates or worksheets out of these tasks you’ll not only increase your chances of it actually getting done but it also makes your process seem that much more refined.
Plan your follow-ups
When you set clients tasks to do, set up some dates to follow-up with them to see how they’re getting on and offer any help.
I like to bake this into my onboarding so I don’t have to rely on me remembering to email them (when I’m likely busy with other work).
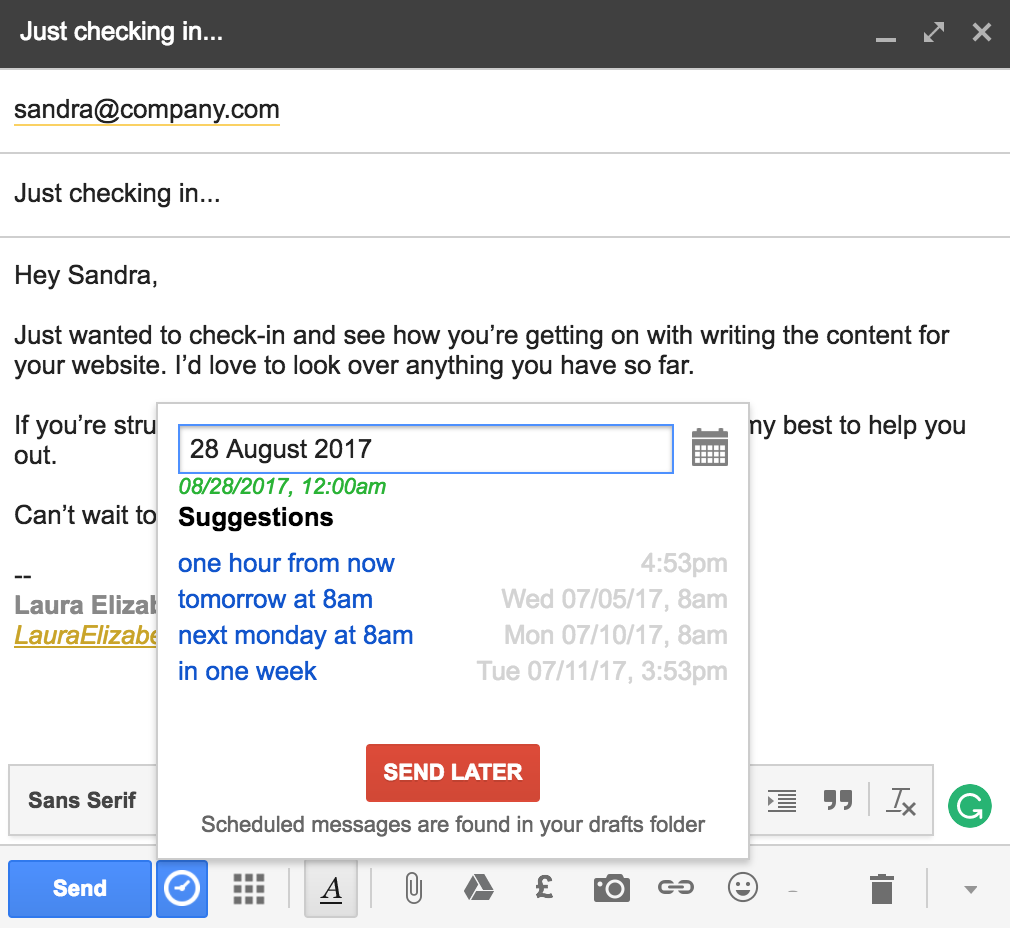
You can set reminders in your calendar or you can fully automate this if you’re using Gmail with StreakCRM.
So you can create a bunch of stock emails like:
Hey Sandra,
Just wanted to check-in and see how you’re getting on with writing the content for your website. I’d love to look over anything you have so far.
If you’re struggling and need some help just hit reply and I’ll do my best to help you out.
Can’t wait to get started on this next month!
-Laura
And schedule them to send on specific dates and times as you get closer to the project start date.
This makes you look organised, professional and like you care (which of course you do, right? :-)).
And because it’s going straight from Gmail and not an email service provider (like Drip or MailChimp) nobody will know that it was automated.
Brownie points for you with minimal effort!
Wow them with your organisational and presentation skills
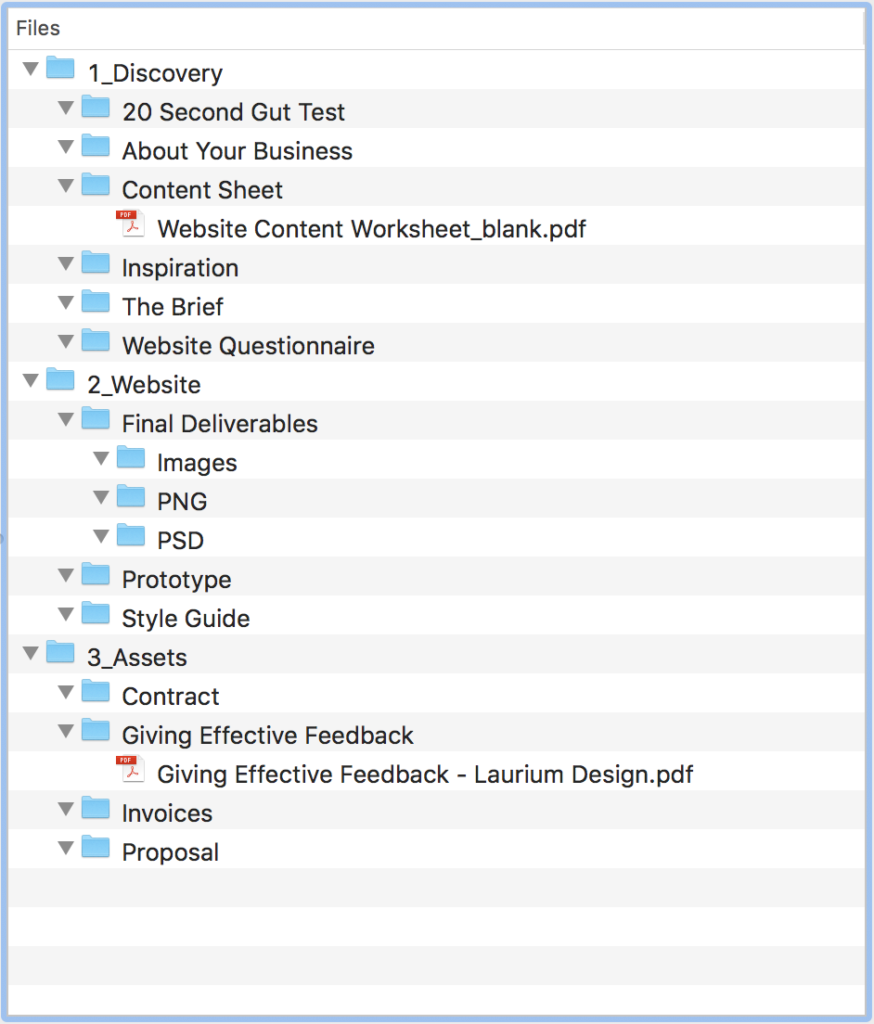
The next thing I do, when I’ve set up their homework and the follow-up sequences, is set up every folder I’m going to need for the project.
Why? Because when I start, I want to be ready. I also want to be able to invite them to this folder so they can see the project take shape.
I used to do this manually which was kind of annoying. But there’s a free app called PostHaste which allows you to set up templates of folders and then with one click, add a new project with all the folder structures in place.
The best part is if you also have assets which stay the same for every client (e.g., a Frequently Asked Questions document or a Welcome Pack), they can automatically be populated too.
So by spending a little bit of time setting up reusable templates for your folders, you can start every project organised.
Here’s the structure of my web design projects. As you can see, most of the folders are empty, waiting to be populated by me when the project starts. But there are also a couple of worksheets and guides which are common for every client project.
One extra thing I’ve started doing is sending each new client a welcome eBook. This is a short book which they can read at their leisure to prepare them for the project and address any questions they’re too shy to ask.
(If you’d like to see the book I send to clients there’s a download link at the end and I’ll send it to. you for free. Feel free to copy it directly or modify it for your client projects).
Getting your onboarding polished and ready to go
When you’ve finished setting up your onboarding assets for clients, you’ll want to have a simple stock email that walks them through what they need to do now (sign the contract and pay the deposit) and what they can expect to happen when they’ve done it (homework).
Here’s what I typically send mine:
Hey $name!
I’ve just sent over the contract and invoice for the deposit. If you have any questions about either just hit reply and I’ll be happy to help you out.
Once those have been taken care of I’ll get this booked into my calendar and I’ll send you some info on how we can get started (including some tasks I’ll need you to do before the start date).
All this will also be available in your client portal which I’ll be giving you access to.
Looking forward to getting started!
-Laura
It’s short and simple but sets them up nicely and gets them excited to start the project now (even if you’re not starting for months).
—
So I’ve given you a look into how I onboard my clients. But my projects likely aren’t the same as yours.
So what can you do to improve your onboarding and get it to be something that takes less time and is more useful?
Ask yourself:
- What does my current onboarding look like? What’s missing? ahem, Contract.
- What are my biggest frustrations with clients? What do I wish they knew when they started?
- What are the assets that I need from clients before we start?
The answers to these questions will form the steps you need to include in your onboarding. It’ll be a mixture of formal documents, educational documents, and worksheets.
Then, write down a Standard Operating Procedure (SOP) for your onboarding. Pretend you’ve hired an assistant and they’re going to be onboarding your clients for you. What order do they need to do everything in and what assets do they need (like email templates) to get the job done.
You can keep this simple in GoogleDocs, it doesn’t need to be fancy (unless you want it to be). But just make sure you have this in front of you every time you start a project and you’ll absolutely whizz through your onboarding—but it’ll seem like it took hours.

Mine takes a maximum of 30 minutes. But it looks professional and shows clients that I’ve got this project under control before it even starts.