Configuring Data Modules
In the previous lesson, we chose a Formula Data Module and didn’t configure it yet. We should see something like this:
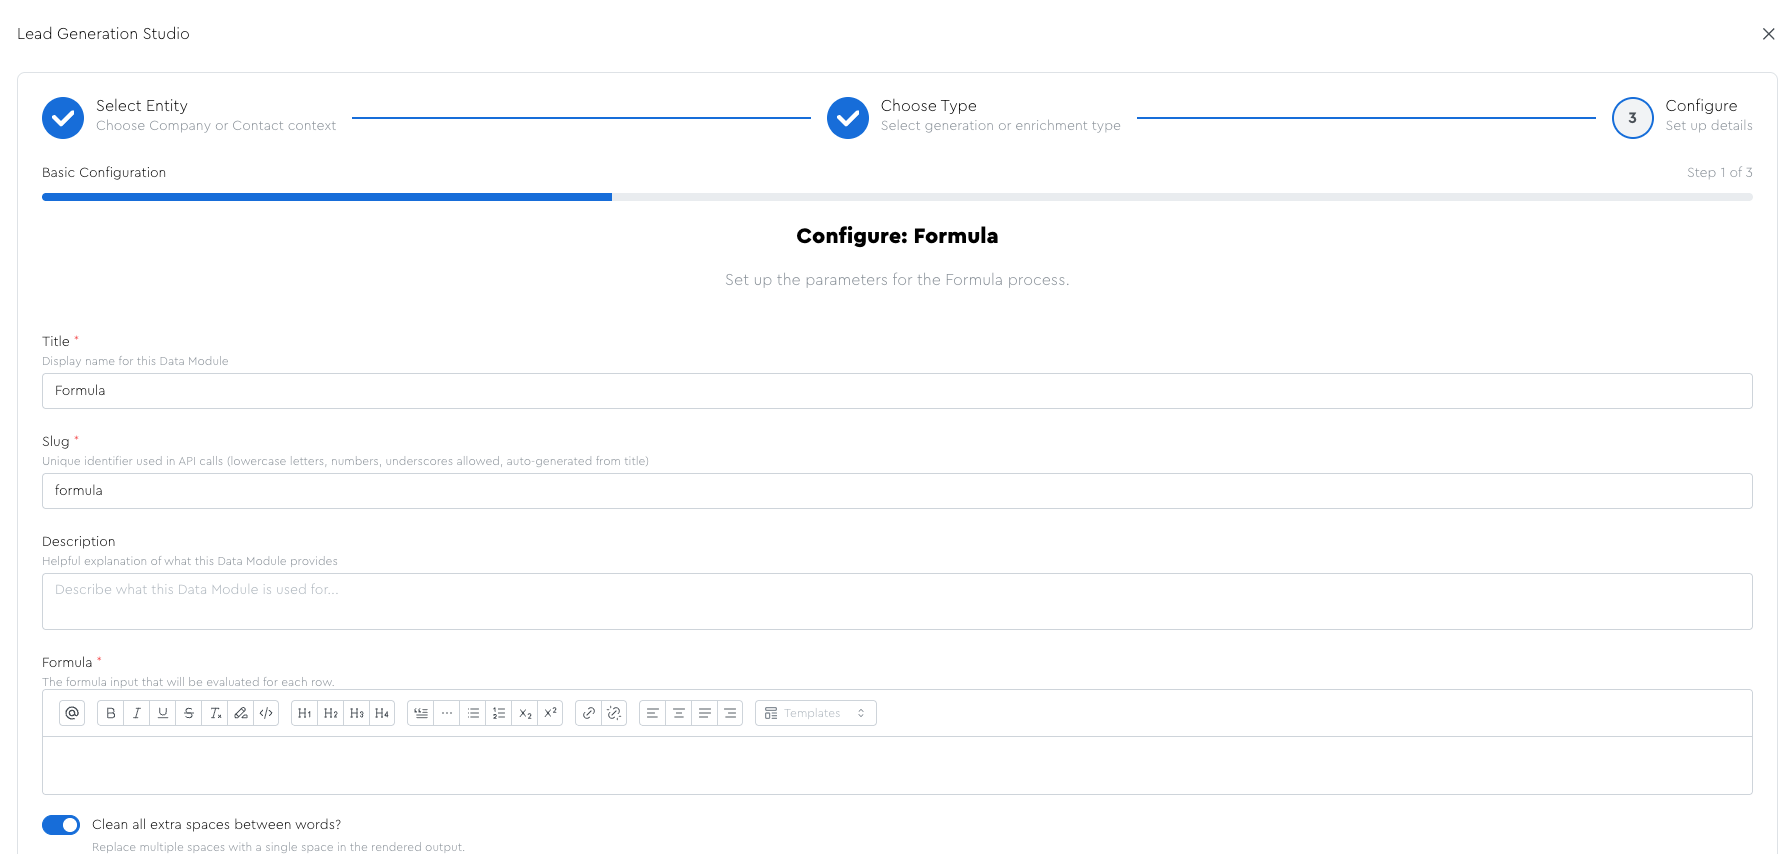
Most of it should be pretty intuitive, but some of it won’t be.
I’ll explain everything at play here in a moment, but let’s start simple.
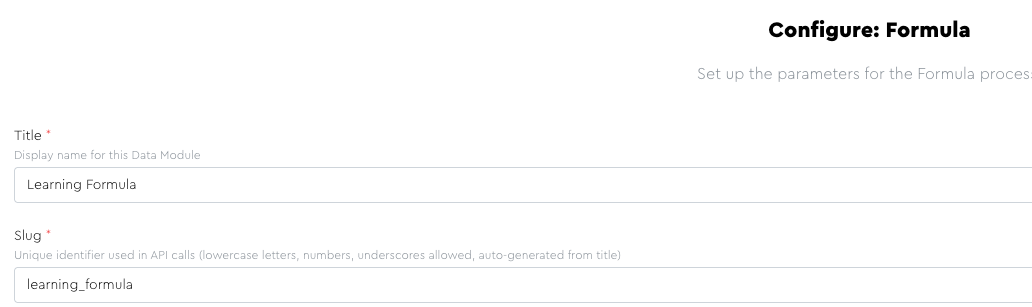
First, let’s type a name — let’s call it “Learning Formula”:
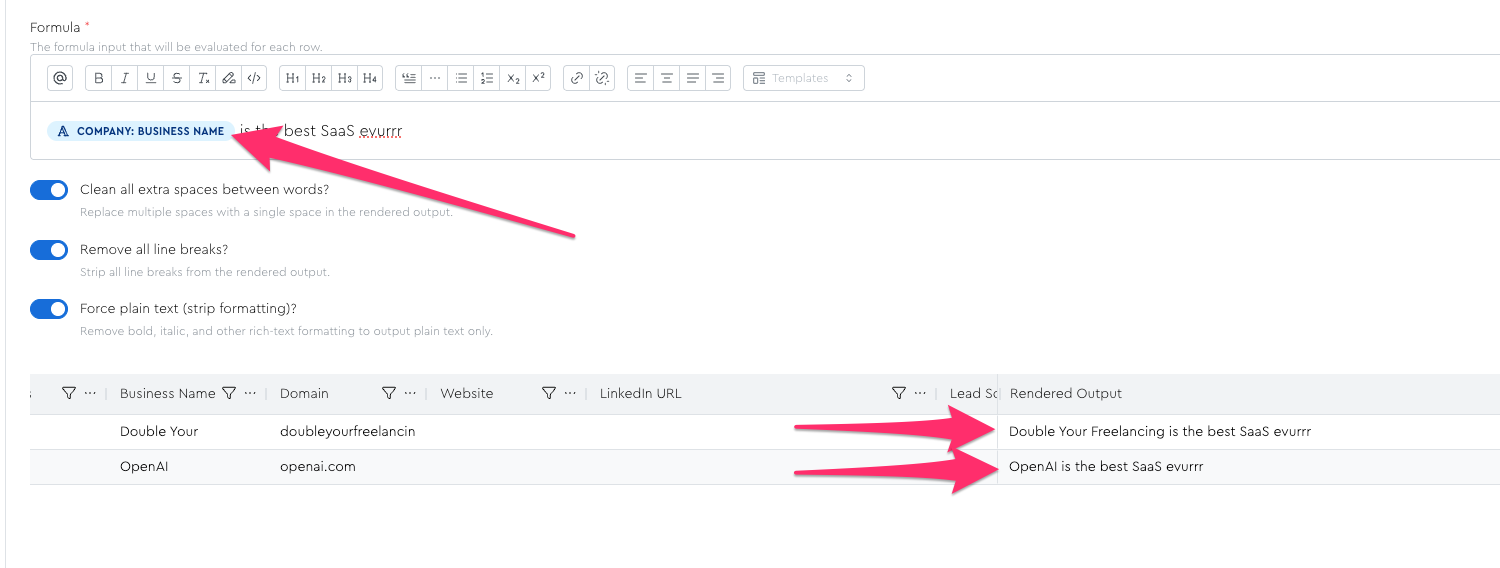
Then, type “LeadTables is the best SaaS evurrr” into the formula box, and notice how it shows up in the preview output:

But obv Sam Altman isn’t going to find that compliment very relevant, so let’s personalize it for each lead.
Delete where you have “LeadTables,” then type the “@” symbol and choose “Business Name” from the list (start typing “bu” to narrow the dropdown list)
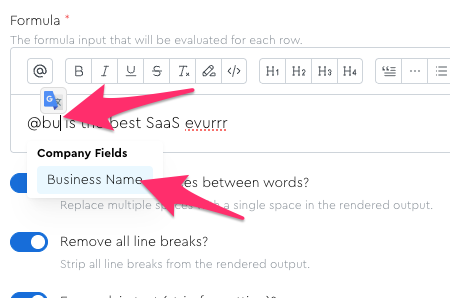
Click that business name option and now will see the chip rendered for it in the formula box, and you’ll notice that the preview now dynamically shows the actual business name of your lead. 🤘
Freakin cool, eh!?
For now, scroll to the bottom of the page and click the “next” button and we’ll pick up in the next lesson.
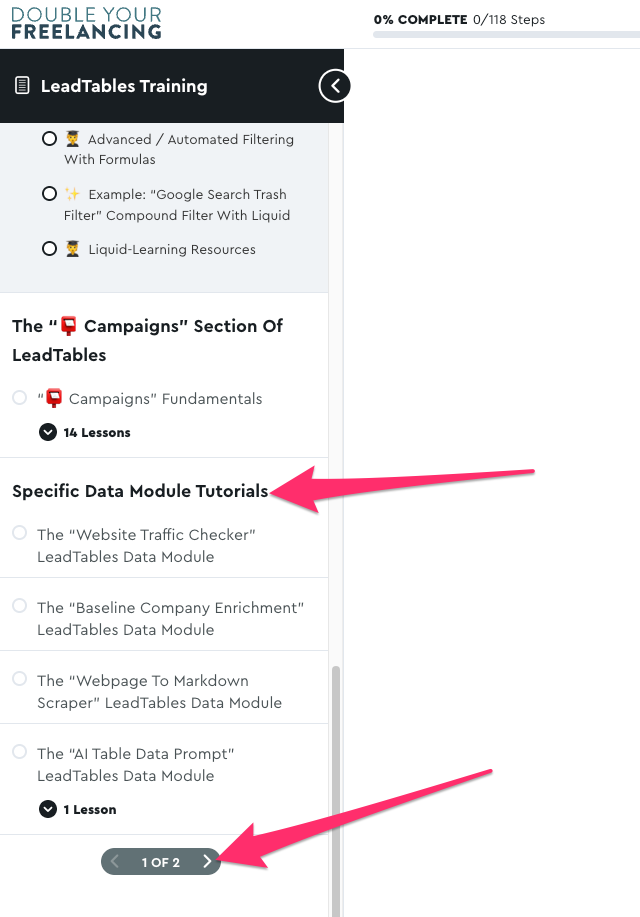
Where To Find Specific Data Module Config Guidance
In the “Specific Data Module Tutorials” section of the course, you can find targeted training for each — including the Formula module we’re covering here!
Beyond the basics, these tutorials often contain hidden gems for unique use cases you might not have thought of. I’d recommend checking those out once you finish up the other parts of the course.