Drafting & Organizing Your Campaign Copy
Your campaign’s email copy — subjects, bodies, variants, sequence structure — lives in the Copy tab of your campaign editor.
This is a drafting and organizing surface. It does NOT send emails. When you’re done drafting, you’ll use the export buttons to get your email text out and paste it into your sending platform (Instantly, Smartlead, ReachInbox, etc.).
How To Get There
Go to your Campaigns page, find the campaign you want to work on, and click into Edit Campaign.
Then click the Copy tab in the sidebar (or horizontal tab bar).
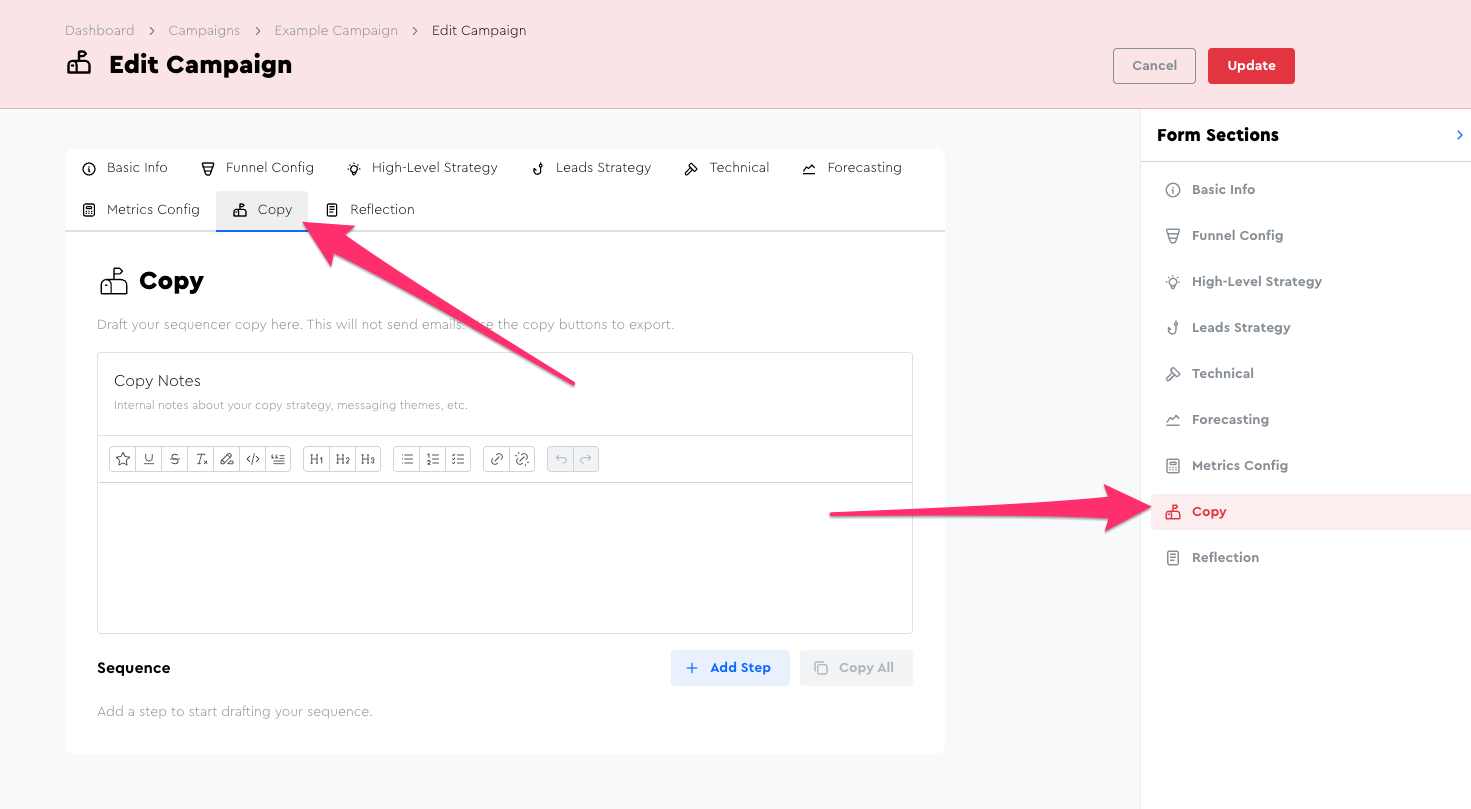
What You’ll See
The Copy tab has two main areas:
Copy Notes — A rich text field at the top for freeform notes about your campaign’s email strategy.
This is a great place to paste things like:
- Which Themeplate Stack you’re using (and links to it)
- Your campaign hypothesis
- Notes on your A/B test strategy
- AI writing prompts you used
- Any other context you want to keep with this campaign’s email text
Sequence — The structured editor where you build out your email steps and variants.
Building Your Sequence
Your sequence is the list of emails in your campaign, in order. Each email is a “step.”
Adding Steps
Click the Add Step button to add a new email to your sequence.
Each step represents one email in your campaign’s sequence (whether it’s an initial email or a followup).
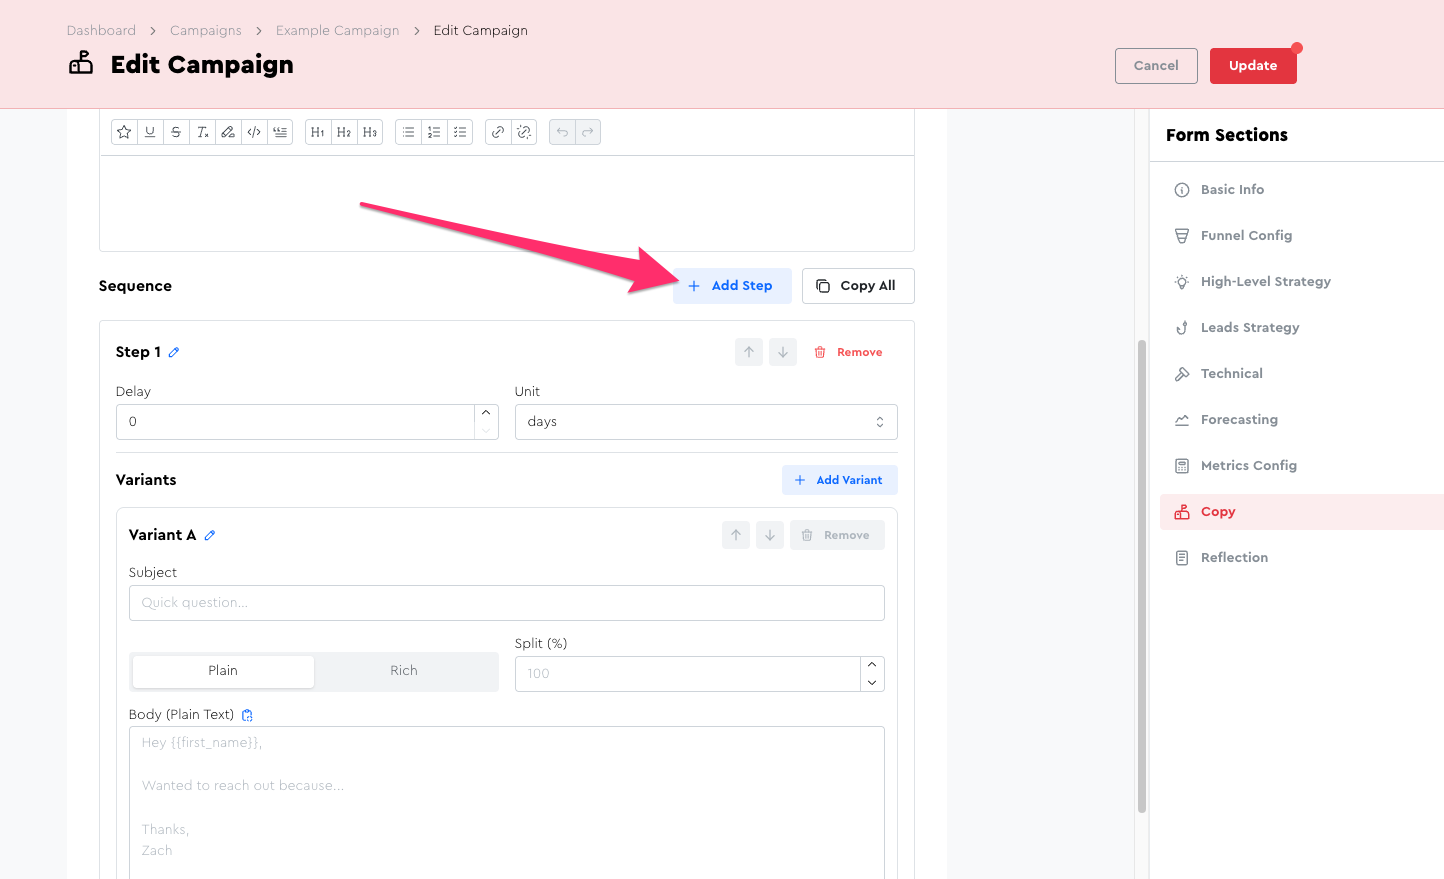
Step Settings
Each step has:
- Label — An internal label for this step (e.g., “Initial Email,” “Followup 1,” “New Thread — Different Angle”). It will default to “Step X” but you can click the little pencil icon to edit it. This is just for your own organization; it won’t be seen by leads.
- Delay — How long to wait after the previous step before sending this one. Set the number and unit (minutes, hours, or days). For your first step, this is typically 0 days. For followups, 2–3 days is a common default.
You can reorder steps using the up/down controls, and remove a step with the Remove button (it’ll ask you to confirm since this deletes the step and all its variants).
A Note On Threading
Email sequencers (like Instantly, Reachinbox, SmartLead, etc.) don’t typically visually represent “threading,” and neither does ClientForge.
Instead, the assumption is this:
- Email HAS a subject line? → It starts a new thread.
- No subject line set? → It will be a threaded reply to the previous one.
So in other words, keep your subject line fields blank for your threaded followups 🙂
Working With A/B/Z Test Variants
Each step can have multiple variants for A/B testing. By default, a new step starts with one variant (“Variant A”).
Adding Variants
Click Add Variant within a step to add another version of that email (Variant B, C, etc.).
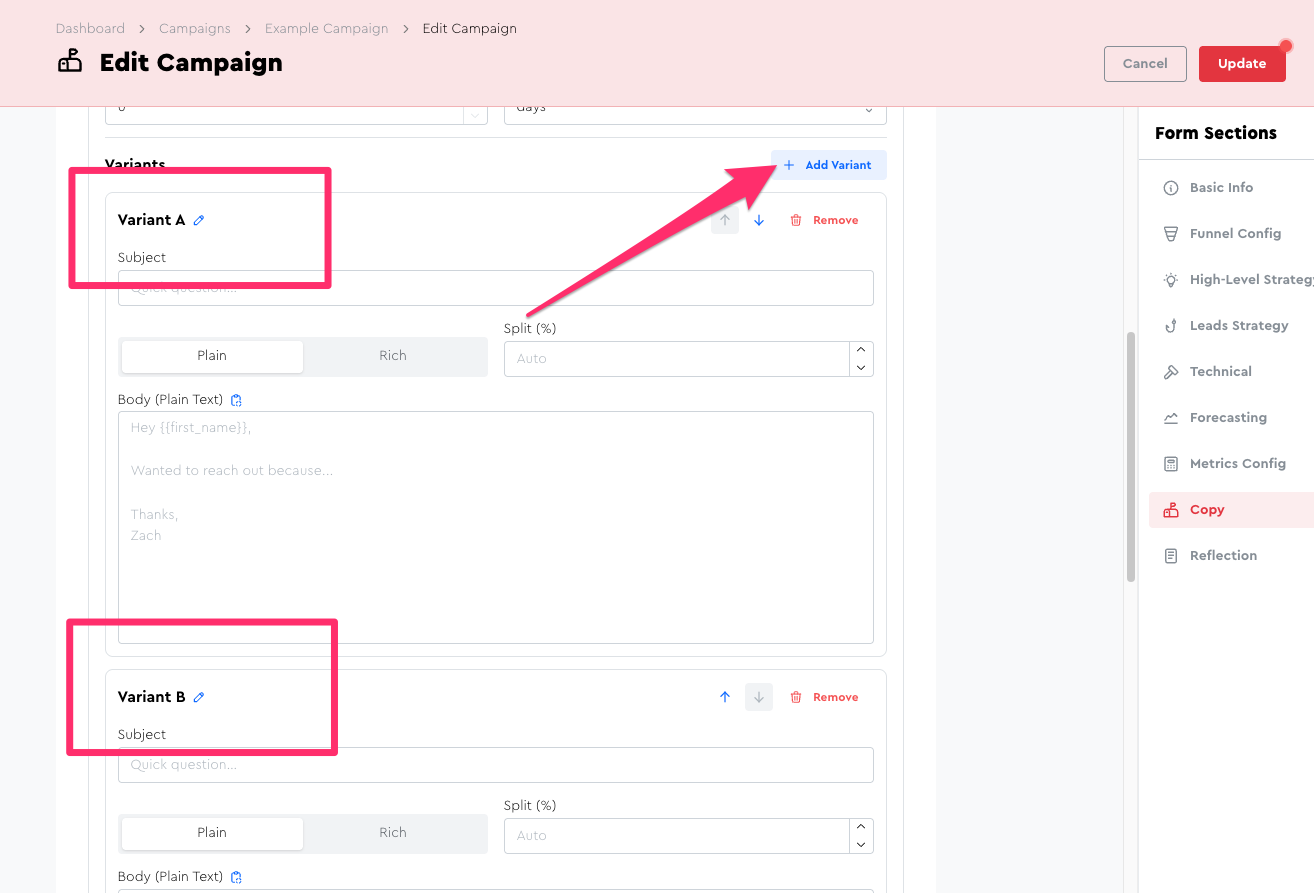
Variant Settings
Each variant has:
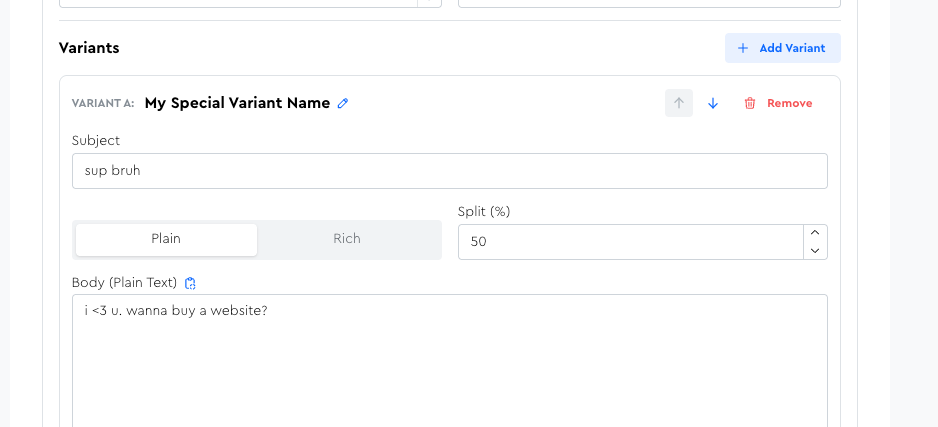
- Label — Defaults to “Variant A,” “Variant B,” etc. You can rename these to something more descriptive (e.g., “Pain Angle,” “Dream Outcome Angle”).
- Subject — The email subject line for this variant.
- Plain / Rich toggle — Choose between a plain text editor or a rich text (TipTap) editor for the body.
- Split (%) — An optional field for documenting your intended traffic split between variants. When you have 2+ variants, the placeholder shows “Auto.” This field is stored for your records but is not used to control actual sending — you’ll set the split in your sending platform.
- Body — The email body content itself.
Plain vs. Rich Text
- Plain mode gives you a simple textarea. What you type is what you get. This is the recommended default
- Rich mode gives you a fancy editor with basic formatting (bold, italic, links, etc.).
If you switch from Rich to Plain, you’ll see a confirmation modal: “Switch to Plain Text?” — because switching will strip any rich formatting from your body content.
☝️ NB: Unless you have a very very very very good reason to use rich text, you should stick to plain text from a deliverability perspective.
Exporting Your Email Text
When you’re ready to move your drafts into your sending platform, you have two options:
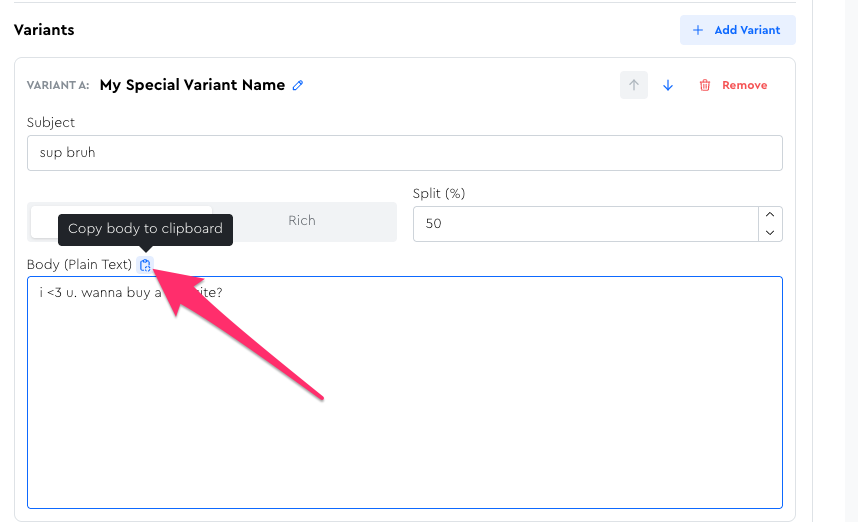
Copy a Single Variant’s Body
Each variant card has a copy icon (clipboard icon). Click it to copy just that variant’s body text to your clipboard.
Note: this copies the body only, NOT the subject line. You’ll paste the subject separately in your sending platform.
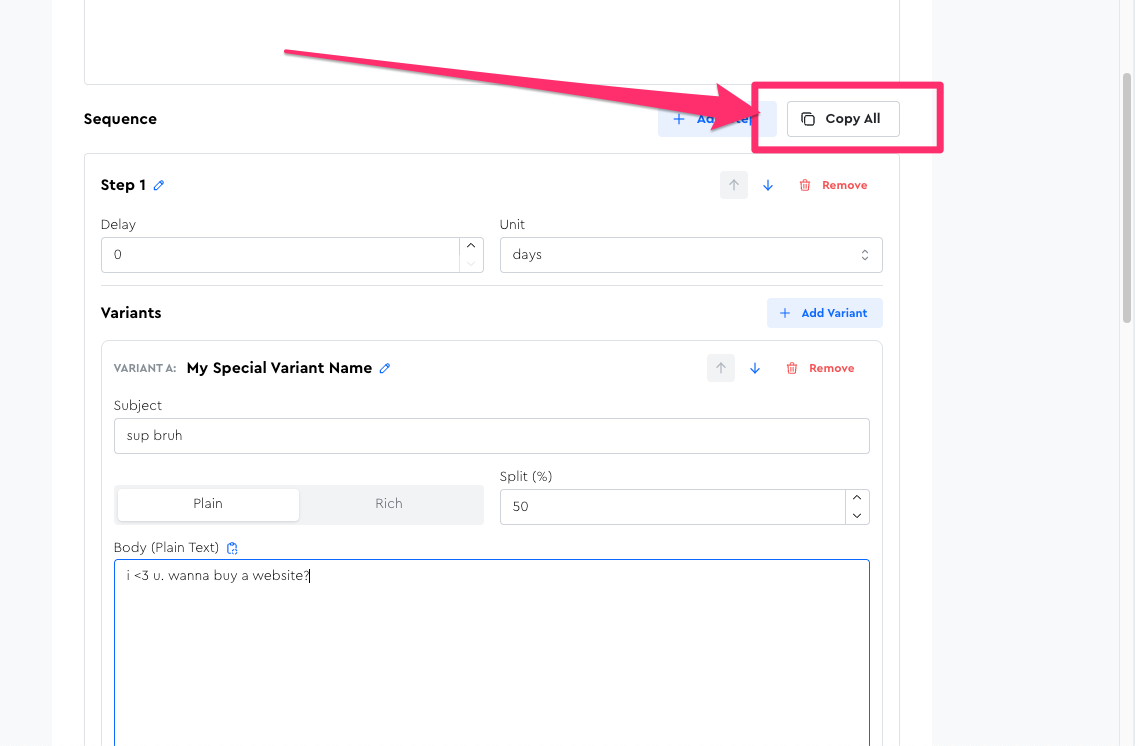
Copy the Entire Sequence
Click the Copy All button at the top of the Sequence section to copy your entire sequence to your clipboard — all steps, all variants, with step headings, variant headings, subjects, and bodies included.
This is useful for:
- Pasting into a doc for review or sharing with an LLM
- Having your full sequence in one place for reference while building in your sending platform
- Archival / record-keeping
Things To Keep In Mind
- This tab does not send emails. It’s purely a drafting workspace. You build the actual campaign in your sending platform (Instantly, Smartlead, ReachInbox, etc.) by pasting your email text from here.
- There’s no merge-tag validation or preview. If you use personalization variables like
{{first_name}}or{{company_name}}in your email text, double-check that the variable syntax matches what your sending platform expects and that the column headers in your exported leads CSV match. The Copy tab won’t catch broken merge tags. - Rich → Plain is a one-way formatting loss. If you switch a variant from Rich to Plain, the formatting is stripped. You can always switch back to Rich mode, but your previous formatting won’t be restored.
- Split % is informational. The traffic split percentage field is stored but doesn’t control anything on the sending side today. So don’t forget to set your actual variant splits in your sending platform if you want them to be something other than an equal split!