Adding Your First Company Lead
Now that you’ve created your testing LeadTable, let’s add a company lead to it.
To start, make sure you’ve navigated into your test LeadTable that you created in the previous lesson.
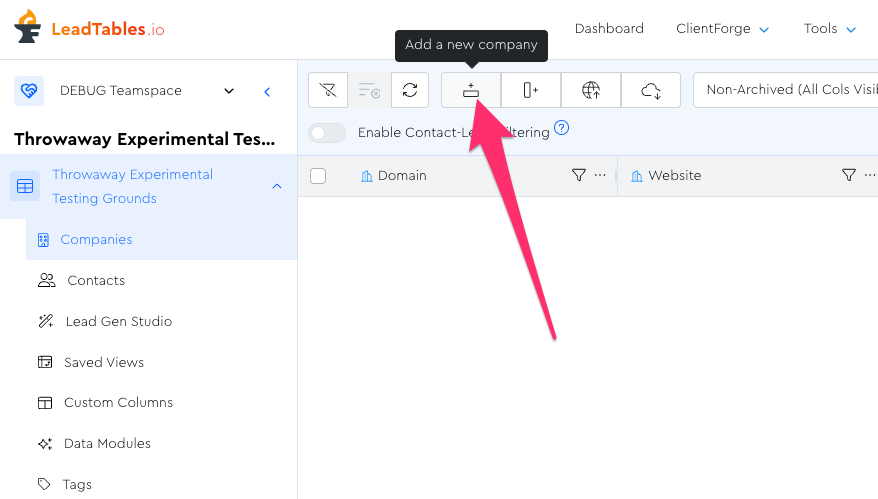
Then, click the “Add New Company” button in the Action Bar:
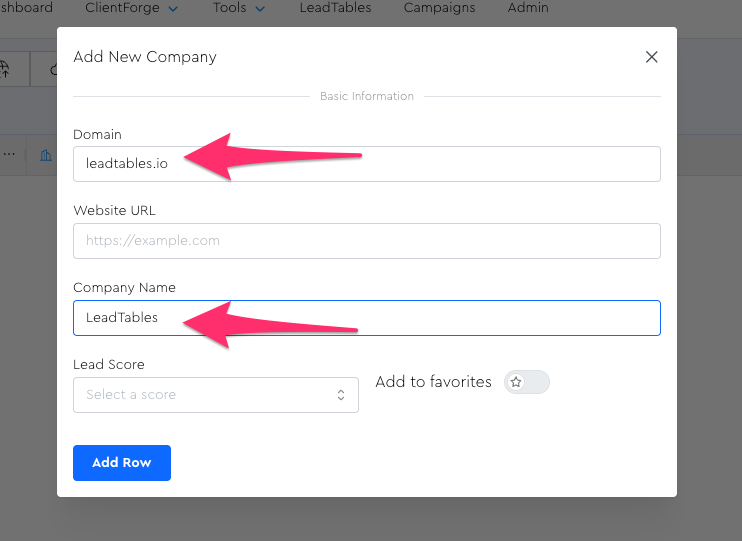
In the modal, let’s have our lead be for LeadTables.io itself:
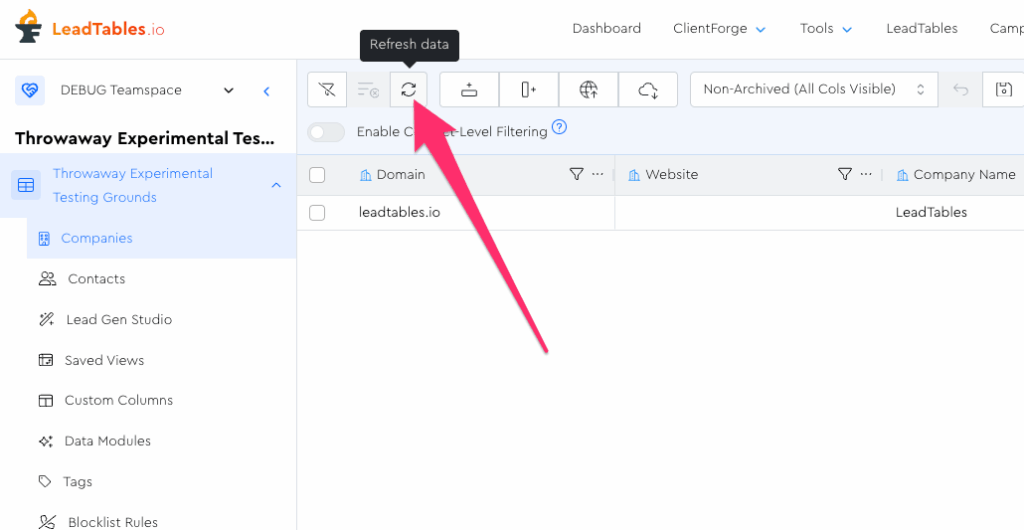
Once you click “Add Row” you should see them now in your table:

If for some reason you don’t, you can click the Refresh button in the Action Bar:
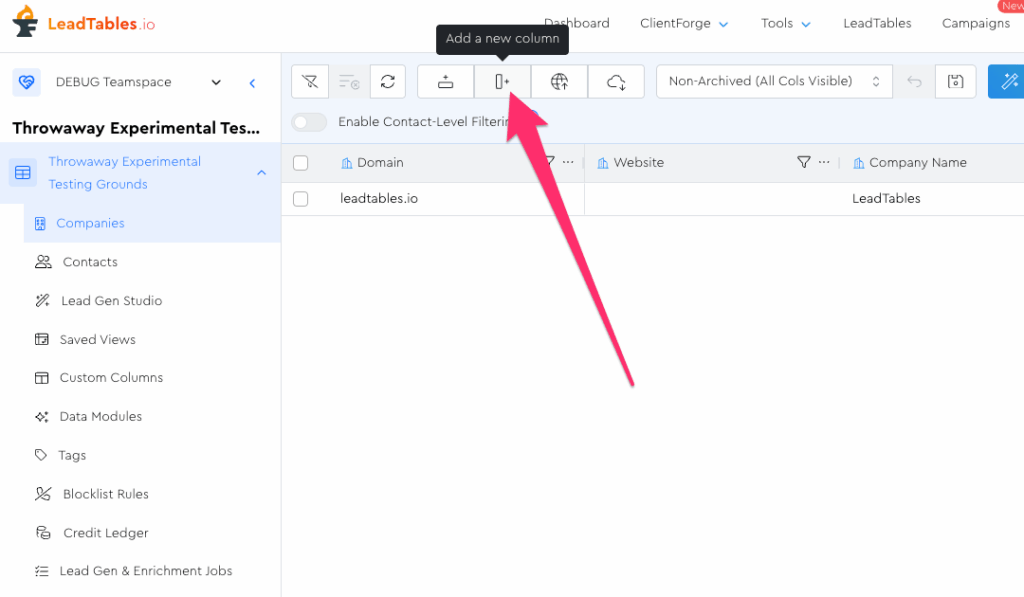
While we’re here, let’s play with adding an enrichment column for them. Click the “Add a new column” button in the action bar:
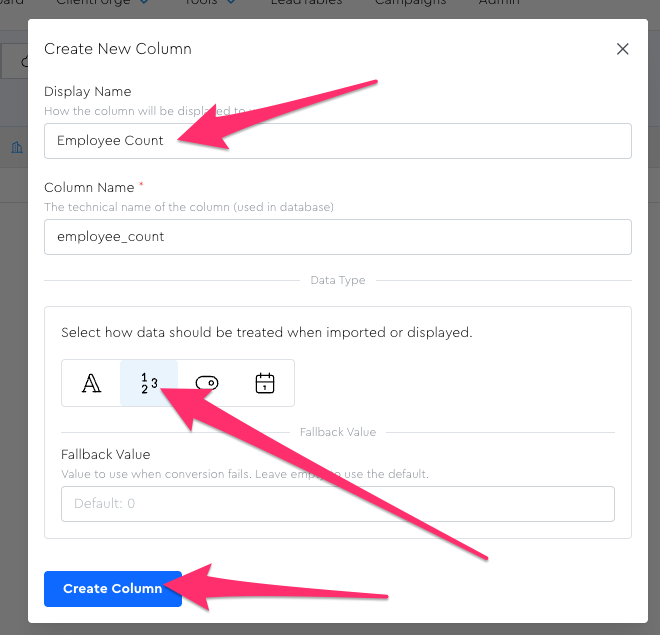
Let’s do one for “Employee Count” and set it to a number type:
Once you create that, you should see a notification:
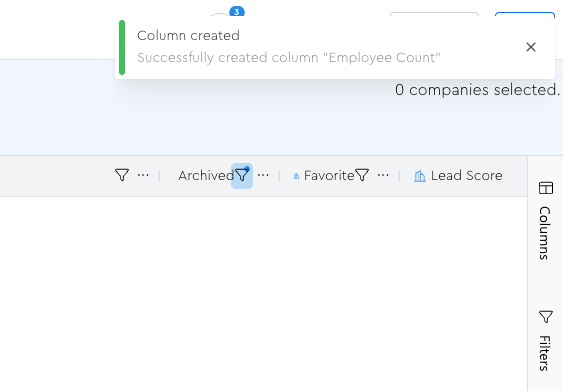
However, you might not yet see the column itself in the LeadTable grid.
You have 2 options for finding it…
- Scroll left and right, hunting and pecking for it, like a newb
- Use the Columns Tool Panel
We’ll do a deeper dive into the Columns Tool Panel later, but I reckon it’s intuitive enough for you to figure out the basics right now, so let’s do eet.
Open up the Columns Tool Panel on the right and search for your new column.
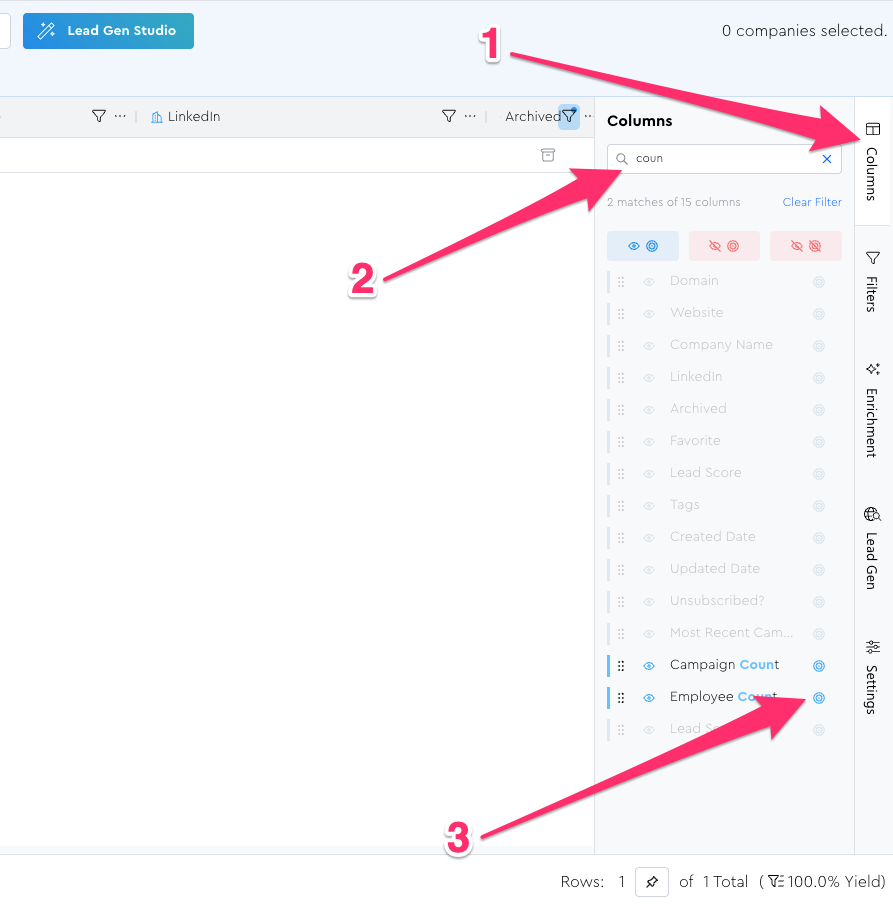
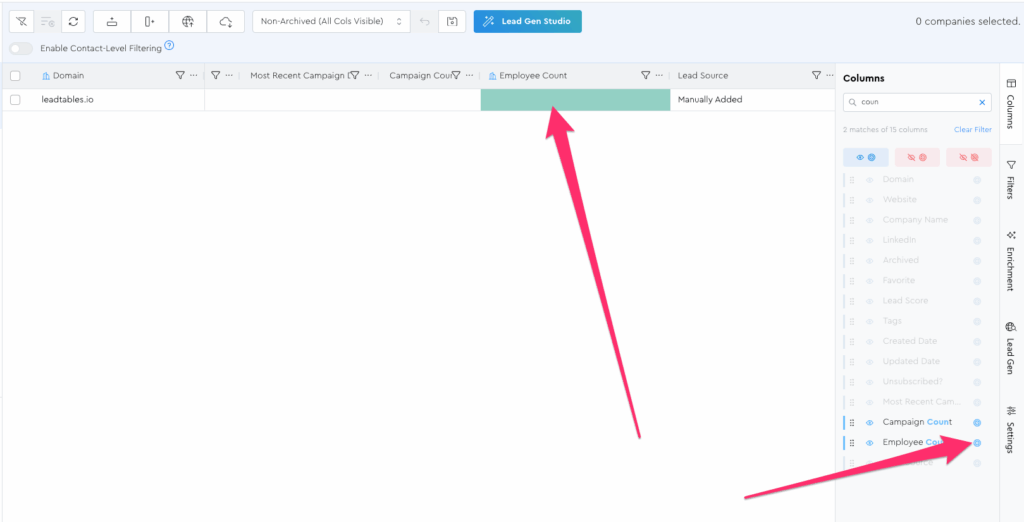
Once you find it, click the little target icon to locate it in the grid (step 3 in the screenshot above) and you’ll see it flash green in the grid after scrolling you to it.
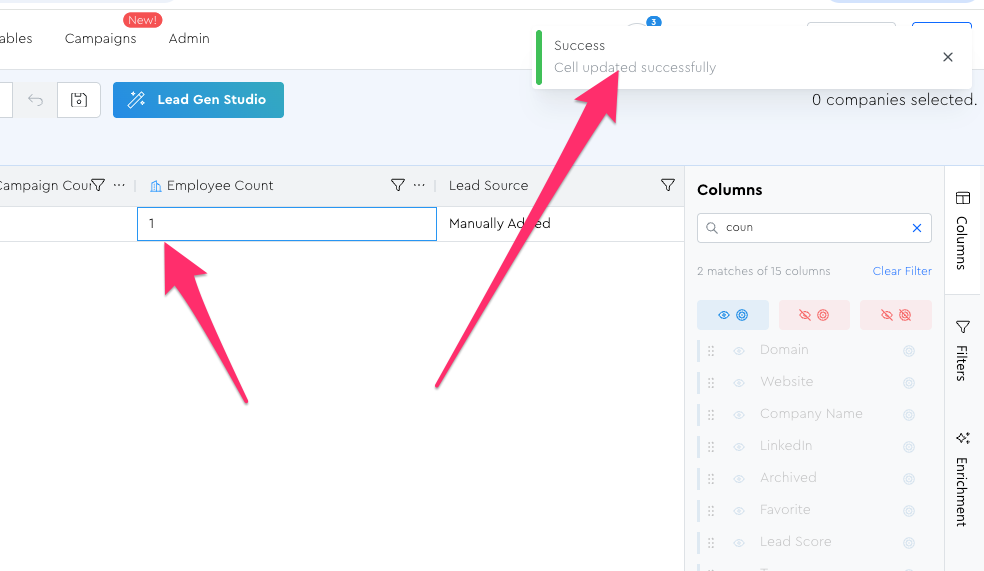
Now let’s just edit the employee count for our new lead. Double click the cell and type “1” and then click out of it to update it:

Once you do, you should see a notification and the value in the grid:
And now, since we added it as a number field, we can even do some basic filtering!
We’ll go deep into filtering in the “Navigating Your LeadTables Data” module, so for now we’ll just keep things basic.
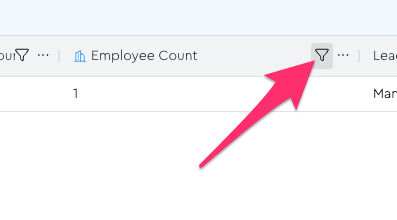
Click this icon to open up the filter options for this column:
Now play with some filters and watch the displayed rows change!
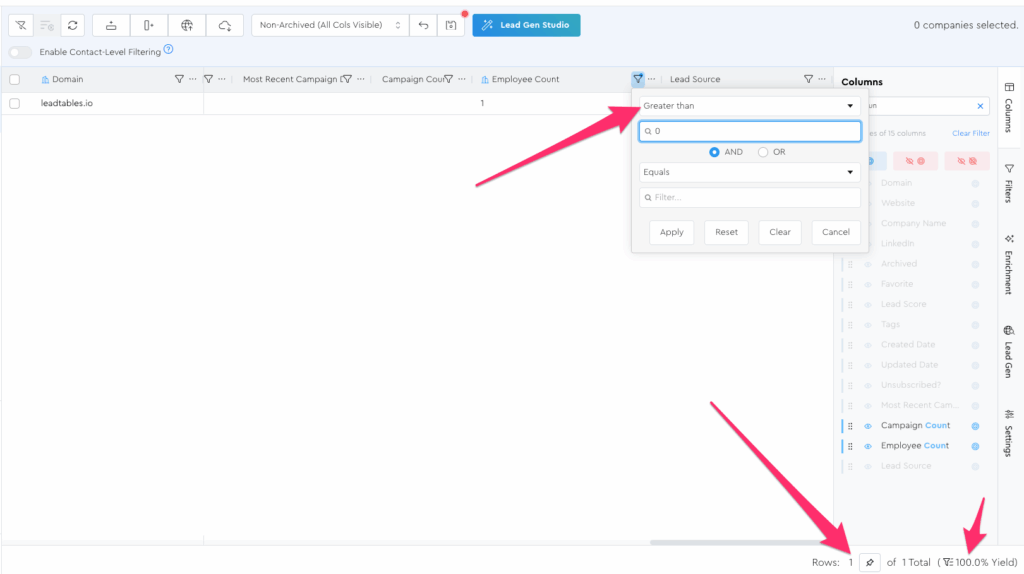
For example if you set it to “equals 0” you will see no leads in your grid:

But change it to “Greater than 0” and voilà, your lead’s back:
Now let’s experience one of LeadTable’s nifty features: the automatic website url → domain name conversion.
Let’s click the “add company” button again in the Action Bar.
This time let’s do one for ClientForge, but let’s do it as a website URL this time.
Just type only “https://clientforge.ai” as the website URL and leave the other fields blank, then click “Add Row”

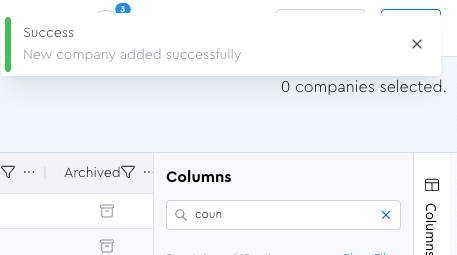
Now you should see the success notification:
But hey wait, what the hell man, I don’t see the lead in my grid!??!? Even when I click the refresh button!?!?!? Did Zach make a super broken-ass tool?????
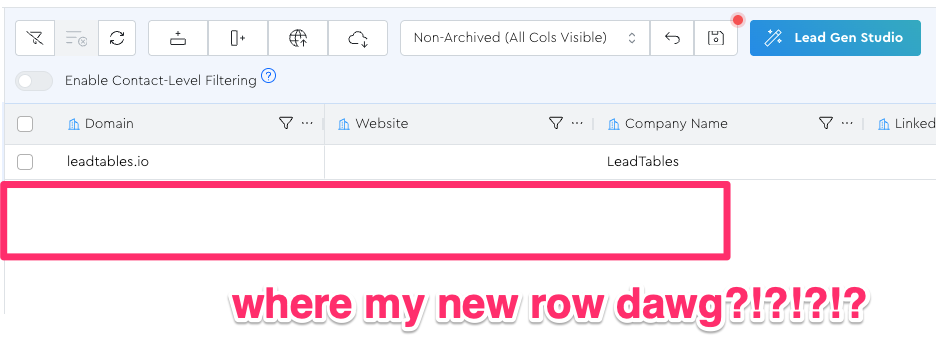
Maybe! But if he did, it wasn’t here, lol.
In this specific case, the reason it’s not showing is because we still have the “Greater than 0 employees” filter applied.
Things that can clue you in to this as the cause for not seeing the lead are…
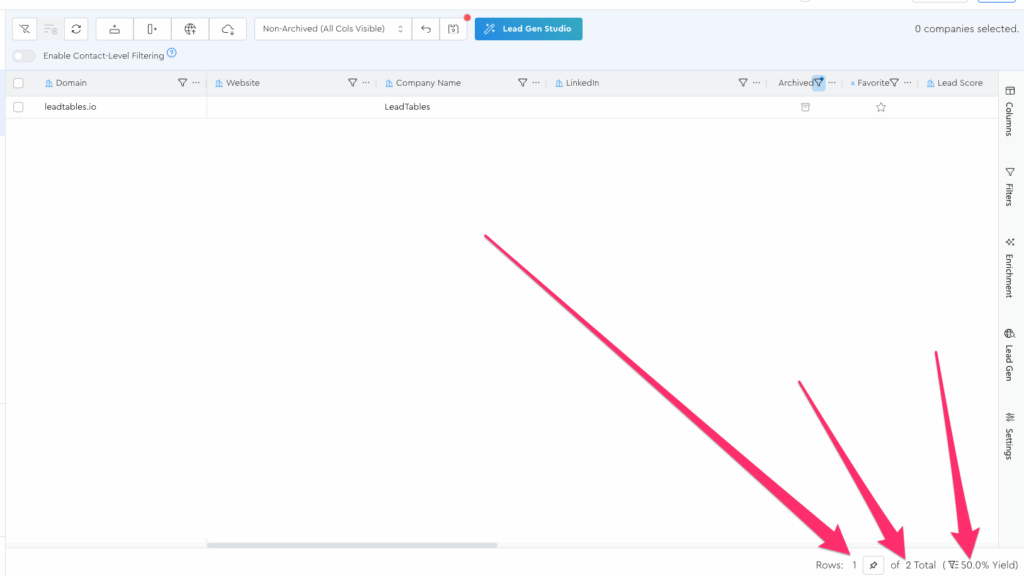
1 — The Yield
The yield shows you that the table is currently showing you less than 100% of your leads:
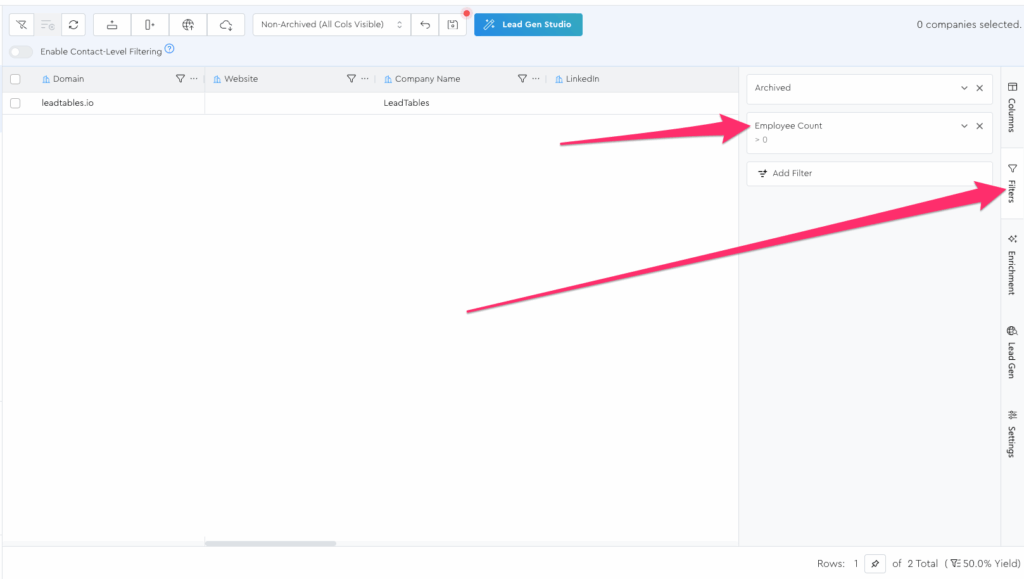
2 — The Filters Tool Panel
We’ll do a deeper dive into the Filters Tool Panel later, but if you were to navigate into it right now, you’d see that you still have the employee count filter applied:
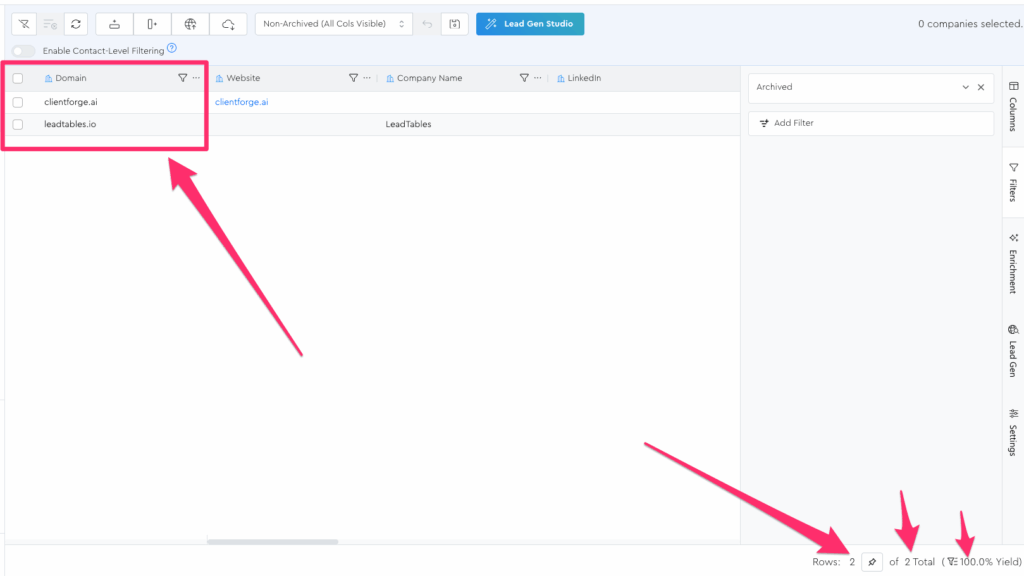
If you click the X next to the filter in the tool panel, you should now see both leads:
If you ever want the master “clear all filters escape button,” it’s here in the Action Bar:

But note that when you click that, you also remove the “Not Archived” filter that I load up by default:
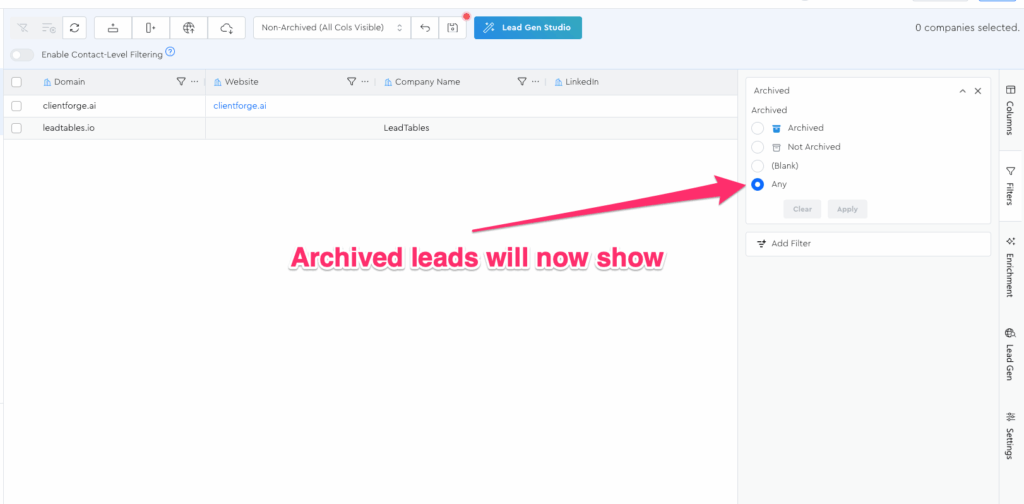
…Which means if you “soft deleted” crappy leads by archiving them (more on this later) you’ll now be cluttering up your view with them.
So, clear your filters however you like, and now you can observe that with your new lead, even though you entered that url with the “https://” in front of it, it still got auto-parsed down to a domain correctly. 🙂
Now let’s add our first Contact leads to these Companies in the next lesson.