Adding Your First Contacts To A Company
Remember in the “Core Concept: Companies vs. Contacts” lesson where we talked about how contacts & companies are totally separate entities?
Now we’ll get to experience that first-hand.
Let’s start by navigating into your testing LeadTable from the previous lesson.
Once you’re there, click to the Contacts page in the sidebar:
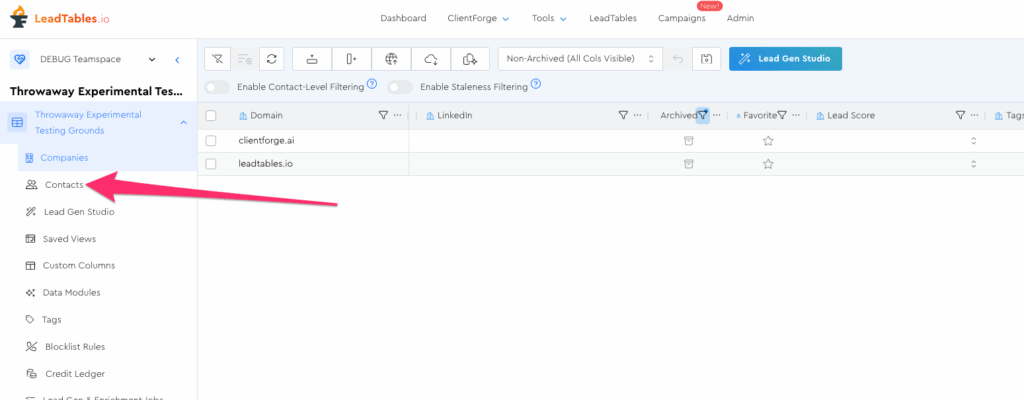
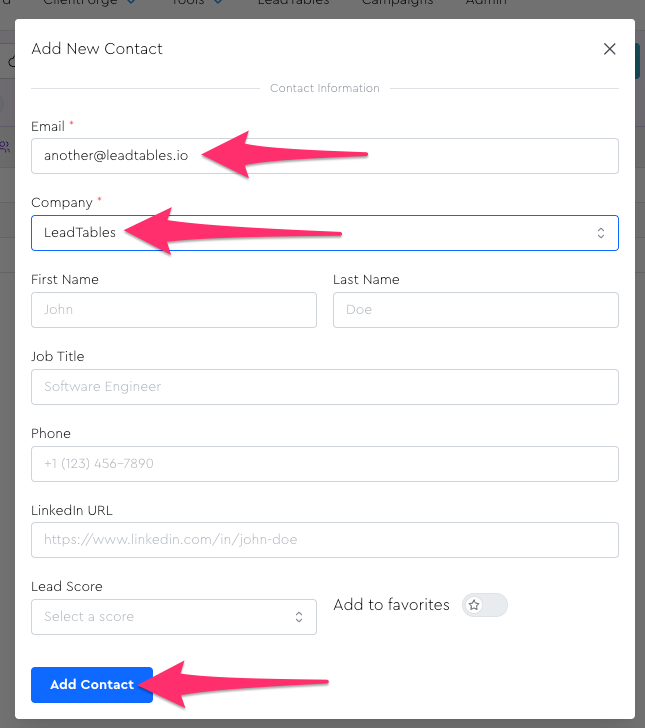
You should see an empty grid with no contacts showing. Let’s add our first one with the “Add contact” button in the Action Bar:
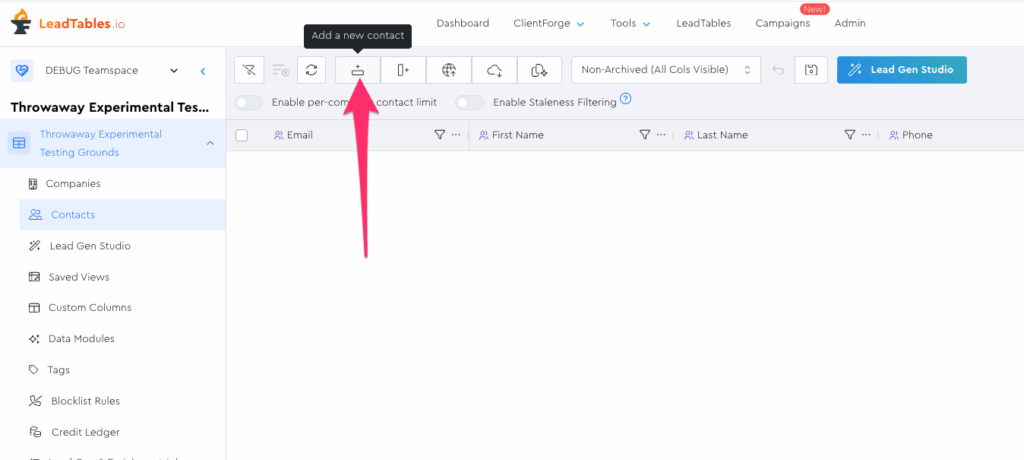
Type the email as whatever you want, and in the company dropdown, map it to ClientForge.
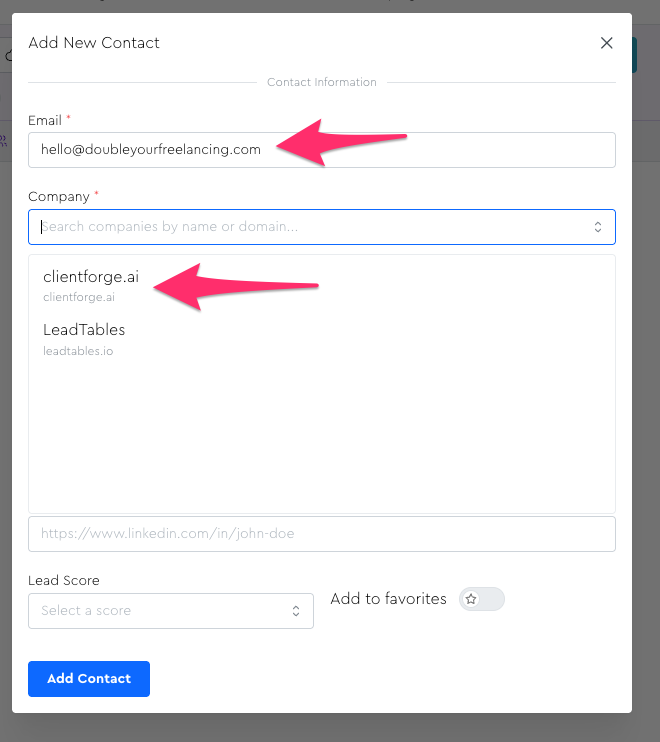
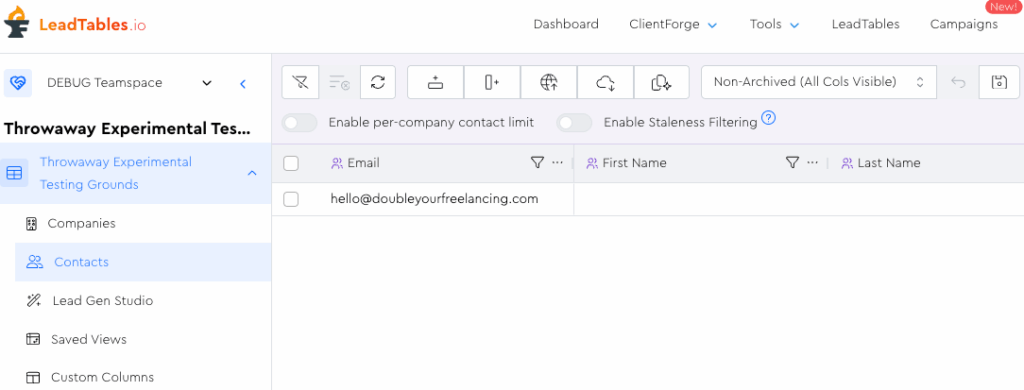
Click the “Add Contact” button and you should now see it in your grid.
Let’s experience the “contacts belong to companies” aspect of LeadTables before we move further.
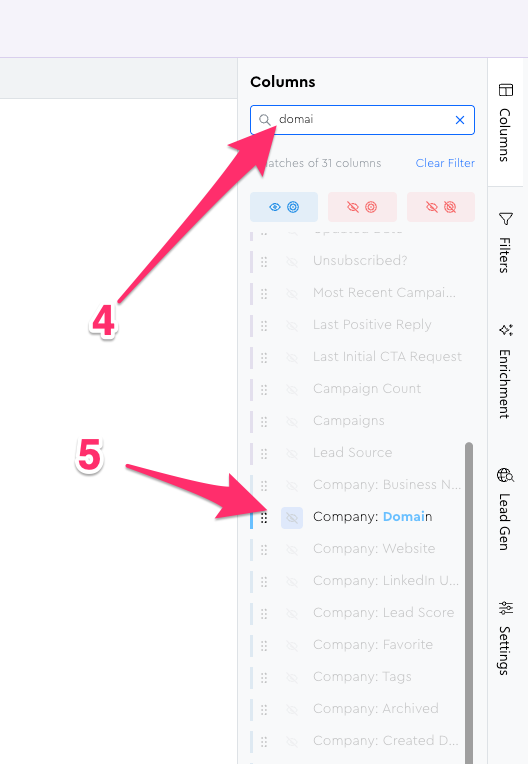
Open up the Columns Tool Panel and hide everything except Email & Domain. Here’s an easy way to do it…
- Open the Columns Tool Panel
- Search for “email”
- Click the “hide unmatched columns” button
- Search for “domain” and show it individually with the eyeball for it

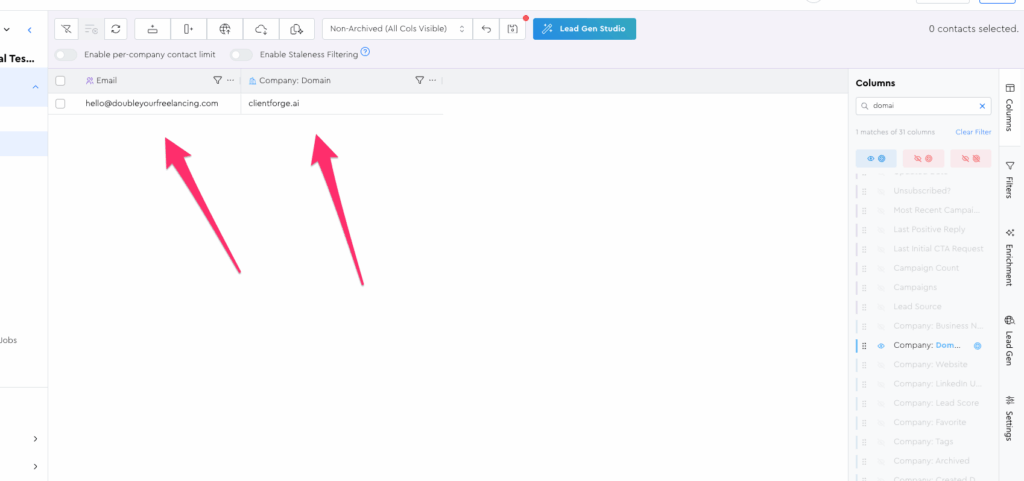
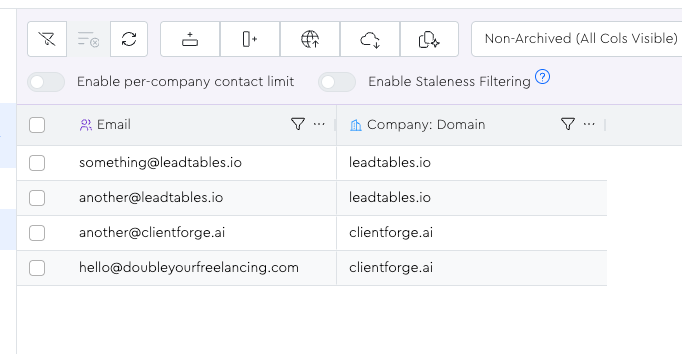
If you did it correctly, you’ll see only those 2 columns in your grid:
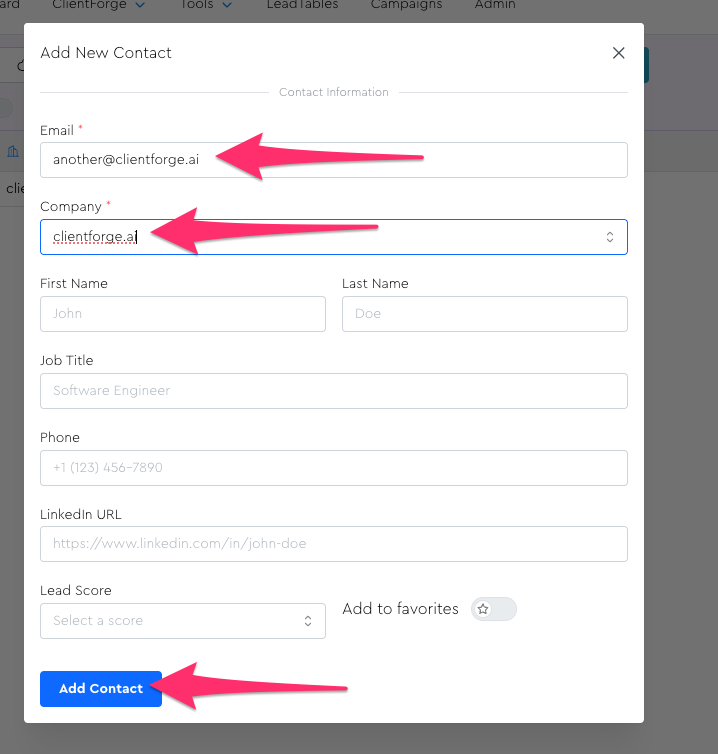
Now let’s add a few more contacts manually…
1 — some other email, also mapped to clientforge.ai
2 — some OTHER email, mapped to LeadTables
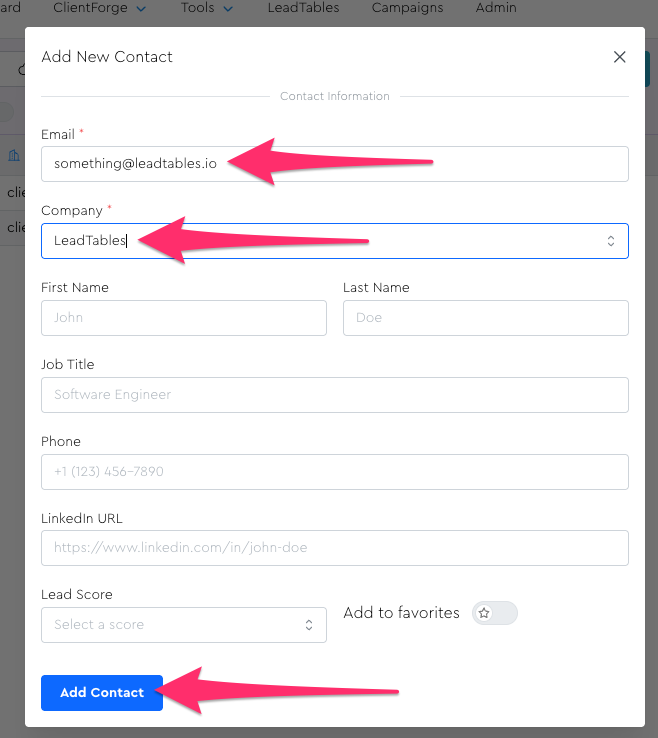
3 — and yet ANOTHER email (pandemonium!!!) mapped to LeadTables
One that’s done, your grid should look like this:
Let’s make the “contacts inherit company info” thing a bit more obvious though.
Let’s open up the Columns Tool Panel and show the Company “Employee Count” field:
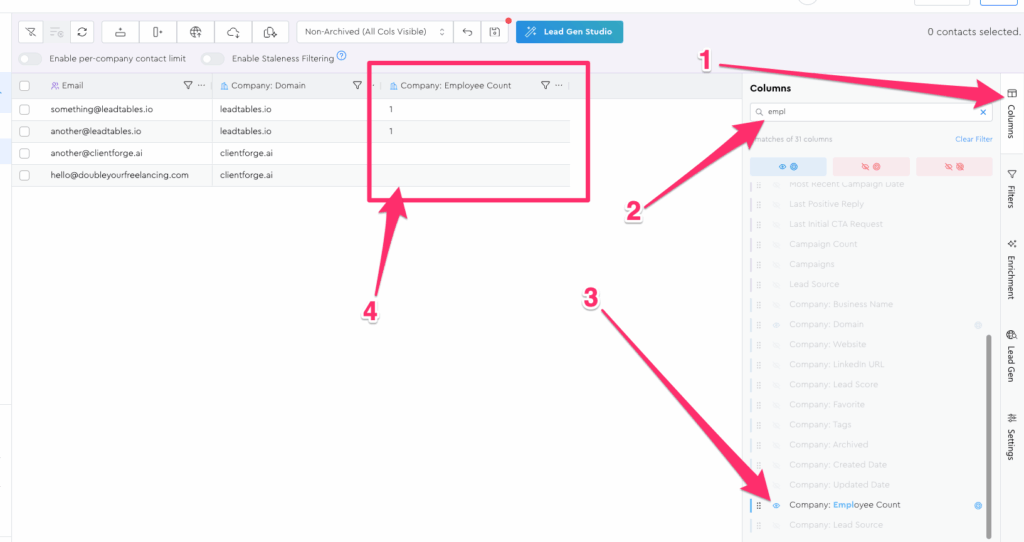
Now you can really see the “contacts get access to their companies’ data” feature in action.
Where this is nifty is that you can now filter contacts based on their company’s attributes.
So for example, “Show me only contacts where we don’t know their company’s employee count” would look like this:

We’ll dive deeper into filtering later. For now, I just wanted you to understand the Companies ↔ Contacts relationship and I trust that in your heart of hearts, you now do.